Webhooks
Webhooks let external applications receive real-time notifications when events occur in Taskip.
Instead of repeatedly checking for updates, your system automatically receives HTTP callbacks whenever subscribed events are triggered.
Navigation Path
Settings → Webhook
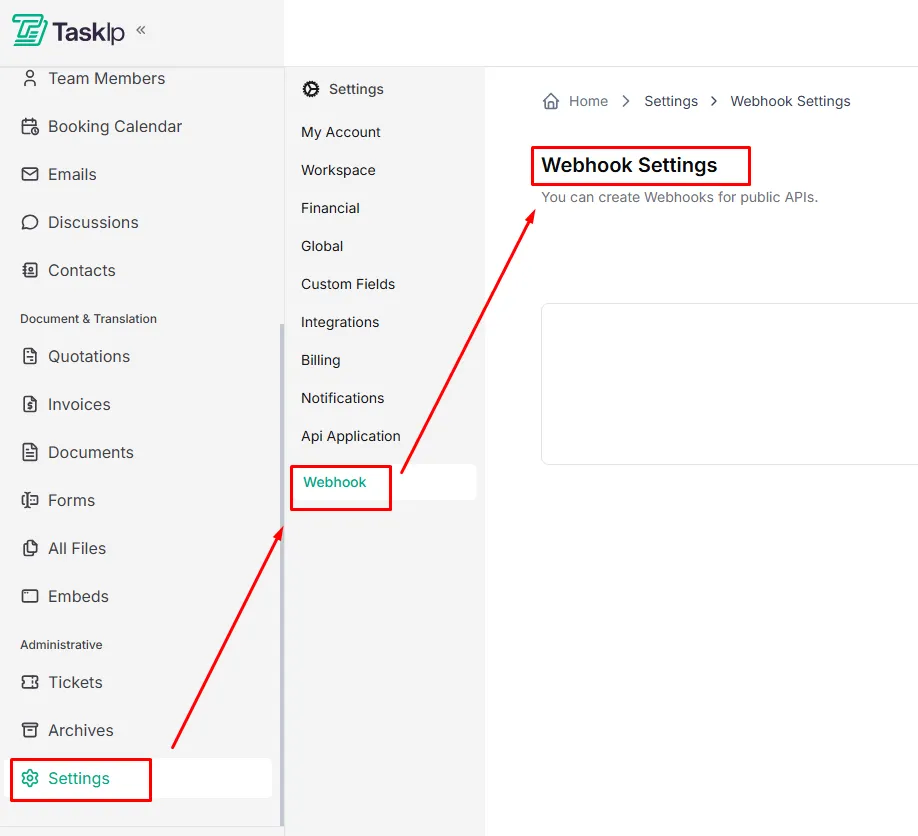
Creating a Webhook
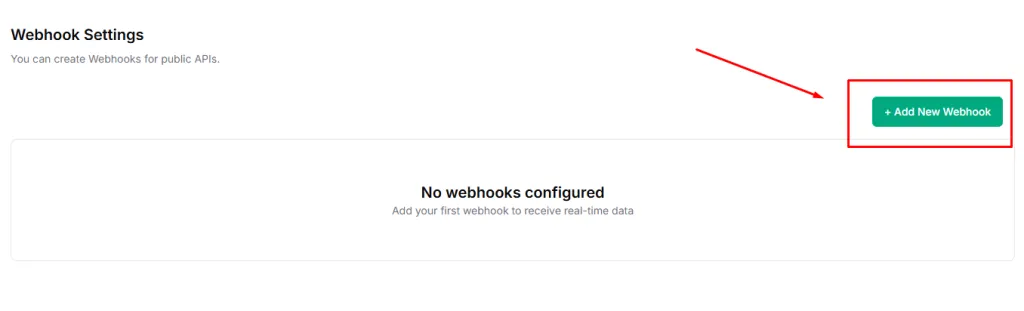
- Go to Settings and open Webhook.
- Click + Add New Webhook.
- Enter a Webhook Name to identify the integration
(e.g., “CRM Contact Sync”). - Paste your Webhook URL — the endpoint that will receive event data.
- Select an HTTP Method:
- POST — Sends event data in the request body (recommended)
- GET — Sends event data as URL parameters
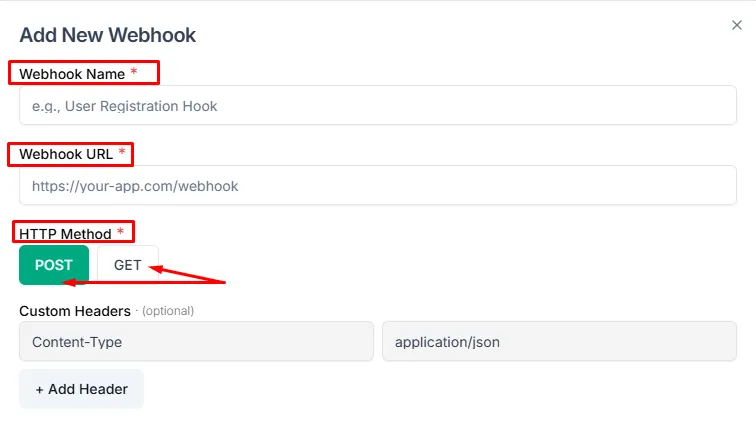
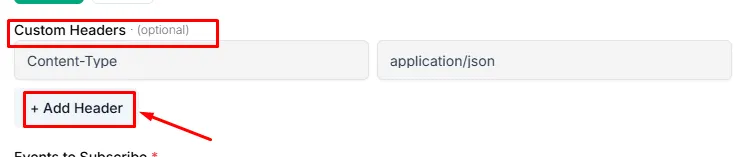
- Add Custom Headers by clicking + Add Header (Optional)
(useful for authentication tokens).
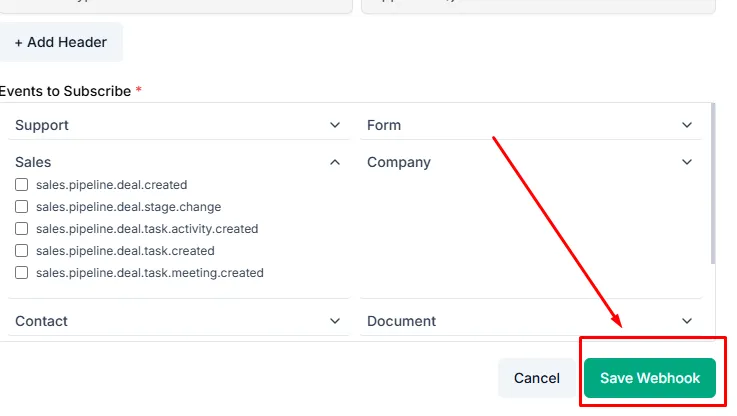
- Select the Events to Subscribe to by choosing one or more categories:
- Support — Support ticket events
- Form — Form submission events
- Sales — Sales pipeline events
- Company — Workspace and company events
- Contact — Contact creation and updates
- Document — Document-related events
- Quotation — Quotation events
- Invoice — Invoice events
- Meeting — Meeting and booking events
- Project — Project and task events
Using the dropdown menu to select sections:
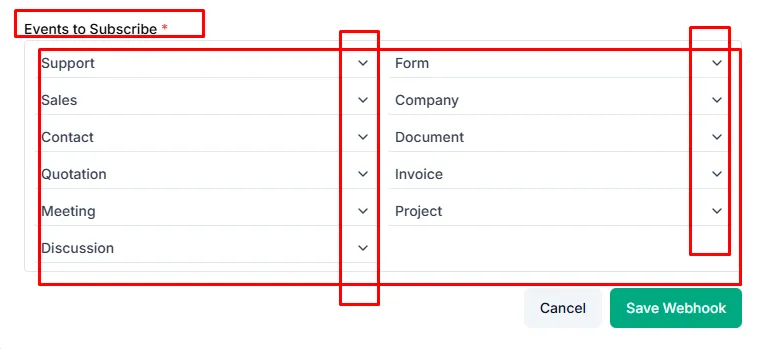
- Click Save Webhook to activate the webhook.
Testing Your Webhook
- Trigger an event in Taskip related to the subscribed category
- Check your receiving application’s logs to confirm the webhook payload is received and parsed correctly.
| Tips * Use tools like RequestBin or Webhook. site to inspect webhook payloads during development * Secure your endpoint by validating headers or signatures * Subscribe only to required events to reduce unnecessary traffic |